How To Buy Wood Lumber For Woodworking
7 Easy Steps on How to Choose and Buy Wood Lumber for Woodworking Projects. Joshua Farnsworth takes you to a Saw Mill to learn types of wood and how to buy lumber.
By Joshua Farnsworth | Updated Mar 01, 2022
How To Buy Wood Lumber For Woodworking
7 Easy Steps on How to Choose and Buy Wood Lumber for Woodworking Projects. Joshua Farnsworth takes you to a Saw Mill to learn types of wood and how to buy lumber.
By Joshua Farnsworth | Updated Mar 01, 2022
When I got started in woodworking I was incredibly confused about how to buy wood lumber from a hardwood lumber yard. So in this article, and in the above video I share what I’ve learned about the basics of choosing and buying wood lumber for woodworking and the types of wood for woodworking. I want to save you time and headaches in trying to understand woodworking wood!
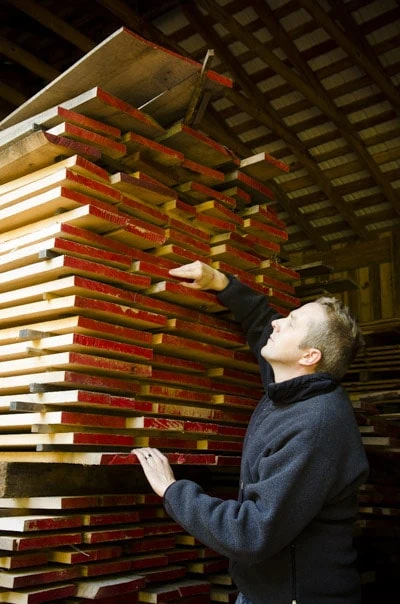
The topic of lumber confused me mainly because I couldn’t find a simple summary of the topic. I found a lot of complex discussions with different terms used by different “experts”. I am by no stretch of the imagination a lumber expert, but I’m very good at simplifying complex topics so that everyone can understand. As a result, this is a simple practical guide to help you understand how wood moves, what wood to buy, how to buy it, and where to buy it.
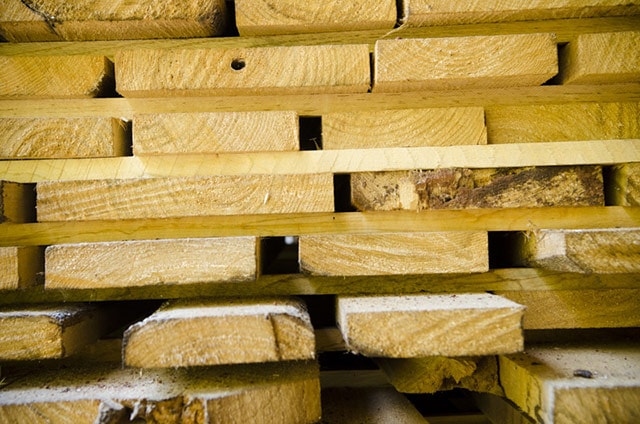
After you learn the basics from this video and article I encourage you to look at the bottom of this article for a list of links, books, and DVDs that will expand your understanding beyond the scope of this article. But this book is the best resource I have found so far: “Understanding Wood: A Craftsman’s Guide to Wood Technology” by R. Bruce Hoadley.
So let’s get started with the 7 simple steps below!
Step 1: Choose Hardwood or Softwood?
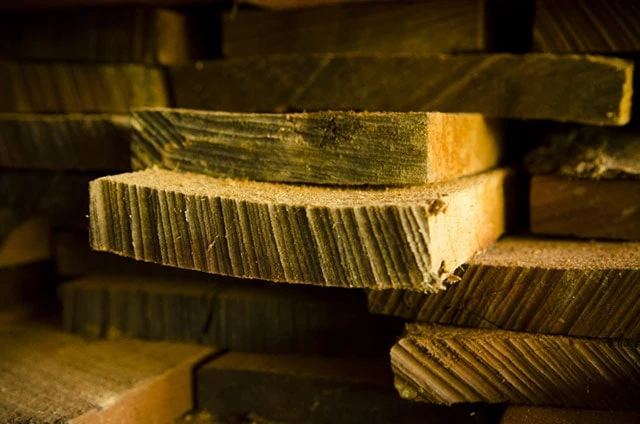
One of the first questions I ask myself when choosing lumber for a woodworking project is: how hard of lumber do I need? If I’m building something like a table, I’d usually want the top to have a harder wood, like white oak or hard maple, to stand up to dings and dents. But a furniture part that’s going to be hidden or out of the way of abuse would do fine with a softer wood, like white pine.
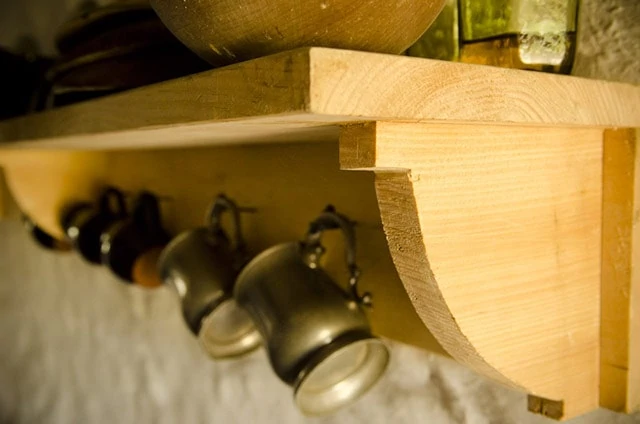
Hardwood vs Softwood: What’s the Difference?
Most woodworkers simplify lumber classification by the terms “hardwood” or “softwood”. But it’s really not quite as simple as assuming that all hardwoods are harder than softwoods. It’s more-or-less a way to differentiate between lumber that comes from deciduous trees (that lose their leaves in autumn) verses lumber that comes from conifer trees (that have cones and needles).
So while most hardwoods are harder than most softwoods, it’s important to remember that some “softwoods” are actually harder than some “hardwoods”. That’s why it’s more important to just look at the specific hardness of each wood, using results from a Janka hardness test:
What is the Janka Wood Hardness Test?

The lumber industry uses the “Janka hardness test” to test and rate common woods for hardness. The test involves pressing a steel ball to gauge how much pressure each wood species takes to push the ball half way into the wood. You can download my free PDF of the Janka chart here.
Using Both Hardwood and Softwood Lumber
I’ve found that most furniture projects that I build actually use a mix of both hardwoods and softwoods. One woodworking project example of mixing hardwood lumber and softwood lumber would be a wall cupboard or a wall clock, like this Shaker Wall clock that Will Myers made in my school:
The case and door frames of this clock are made from from a softer hardwood called “Butternut”. But the panel and dovetail board that holds the clock face uses soft white pine.
While we’re talking about Will Myers, another popular example of successfully mixing hardwoods with softwoods is when building a workbench, like the Portable Moravian Workbench in our video “Building the Portable Moravian Workbench with Will Myers“:
The Moravian workbench is built using soft, inexpensive lumber for the undercarriage, where there won’t be much going on to hurt the wood. And the top, vise, and structural parts need some type of harder wood, like white oak, red oak, ash, maple, or cherry, where it needs to take a beating.
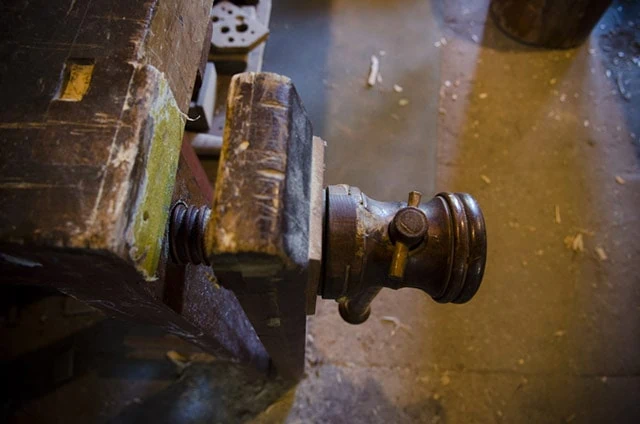
Most craftsmen of the past built the bases of their workbenches with less-expensive softwood and the tops & vices with hardwoods.
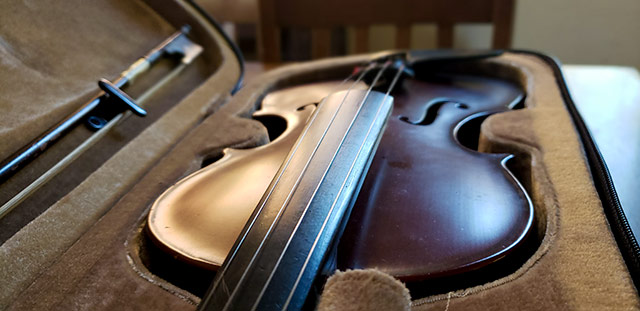
Another great example of mixing hardwood and softwood lumber would be musical instruments, like a violin. Violin makers use a soft Spruce for the soundboard and a harder Maple for the back, sides (ribs) and neck.
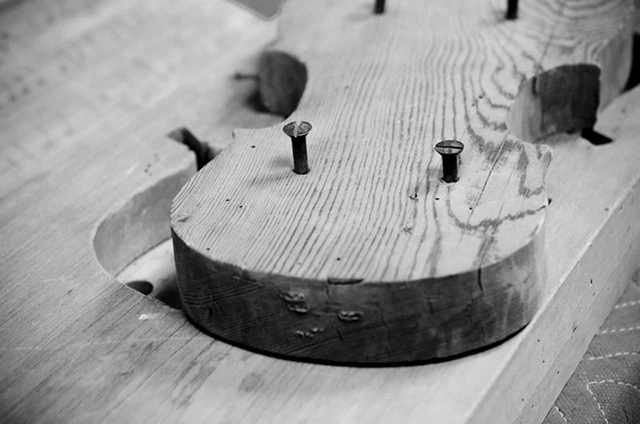
Just use your brain to determine what type of wood you should use on different parts of your furniture. But just don’t be like the amateur woodworkers who feel like they need to use expensive hardwood lumber for their whole furniture. That’s just not historically correct, and it’s awfully expensive.
BOOKS: I have a couple of books that I feel are go-to books for understanding lumber on a deeper basis. The first is “Wood Identification & Use” by Terry Porter. I have found this book to be an incredible guide to understanding the science of lumber. The other great book is called “WOOD! Identifying and Using Hundreds of Woods Worldwide” by Eric Meier. This latter book is a huge database of lumber from around the world. It’s also printed under the title: “The Wood Dictionary: From Acacia to Ziricote, a Guide to the World’s Wood” by Eric Meier. You can also check out Eric’s website: The Wood Database.
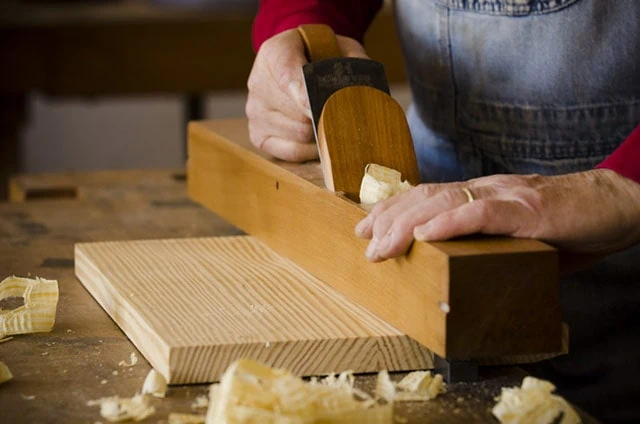
Step 2: Choose Dimensionally Stable Quartersawn Wood
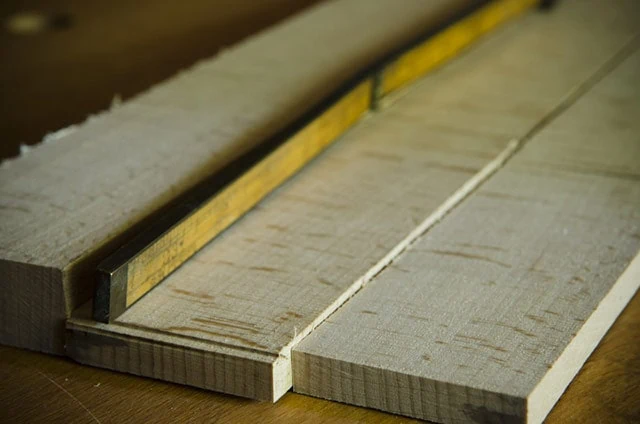
Wood moves when it dries and also when humidity and air temperature changes. Wood doesn’t really get longer (thank goodness) but it does expand in width as humidity rises:
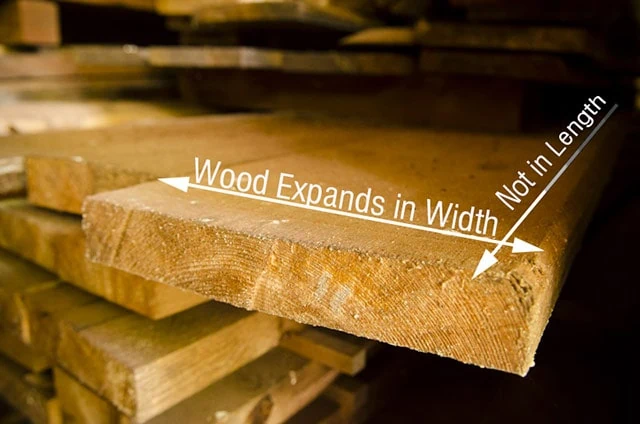
That expansion and contraction can cause major problems for joined furniture parts, so it’s important to know which furniture parts should have more stable wood.
What is Quartersawn wood?

Quartersawn wood is lumber that has been cut with vertical end grain to give greater stability and less movement (see above). Quartersawn wood usually has nice translucent ray fleck figure, especially on quarter sawn white oak (pictured below), so it can be used on many different furniture parts where ray fleck figure is desired. But it’s especially important to use quarter sawn wood on furniture parts that require less wood movement.
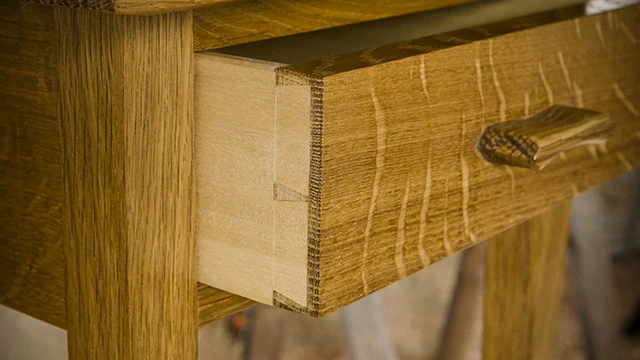
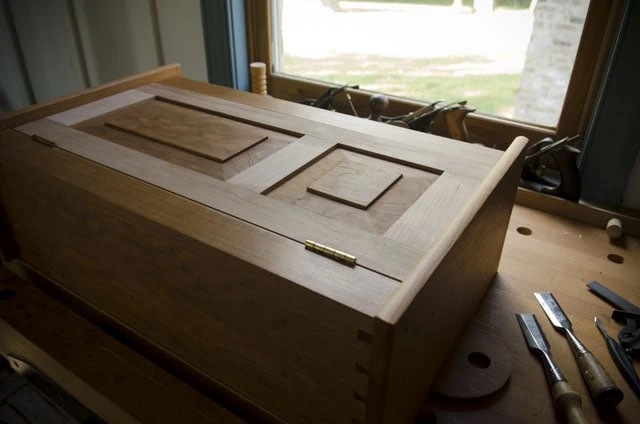
As mentioned above, wood moves with changes in humidity. Here in Virginia we have very humid summers and fairly dry winters. So furniture parts can move substantially, which can lead to broken furniture parts if you fail to plan for that movement. Quartersawn wood will minimize that movement, so vital furniture parts, like door frames, should be made from quartersawn wood. Door panels can be made out of highly figured and unstable wood (like crotch wood), but the frames that contain and constrain the panels should be made from quarter sawn wood.
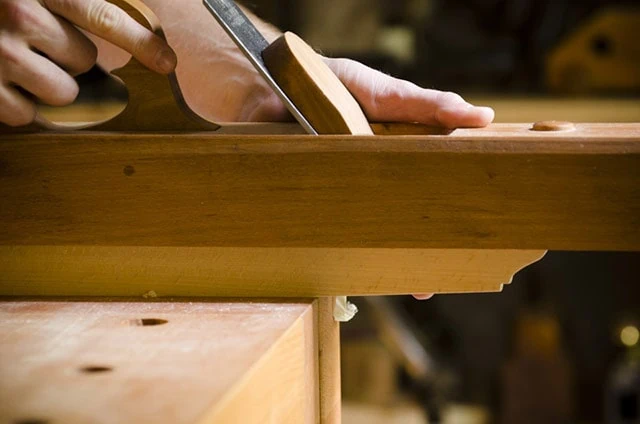
I also like to make wooden woodworking hand tools, like hand planes, straight edges, and try squares. These hand tools need to remain as stable as possible, so I also use quartersawn wood to make them.
So the takeaway here should be to find lumber that will be as stable as possible during changes in humidity for furniture parts (or tools) that need minimal movement. But how do you get wood that has stable “vertical grain”? This is the question that confused me for awhile. The answer is: It all depends on how the wood is milled from the tree. This is what I’ll cover in the next step.
Step 3: Learn the different wood milling cuts
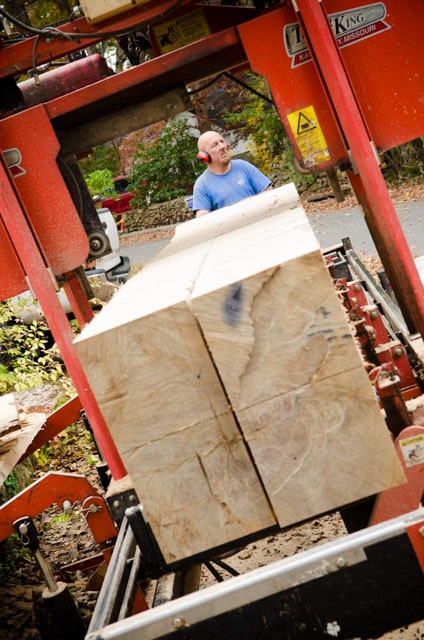
Learning the different lumber cuts will help you immensely at the lumber yard. In this section I’ll talk about how inspecting a board’s end grain will tell you how a board was sawn from the log, and how stable it will be. In a minute I’ll jump into each of these cuts in a little more detail, but my graphic illustrates how different cuts come from the log:
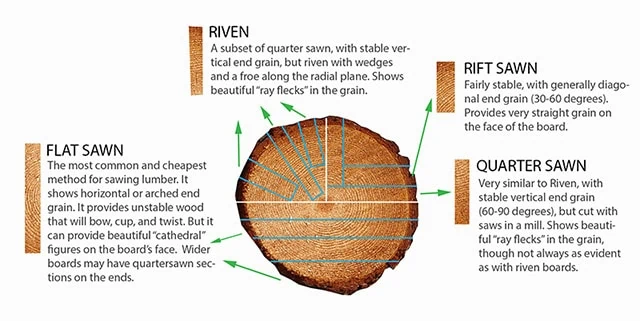
But mills rarely cut up a board like the graphic above. “Through and through” is the most common method that lumber mills employ when milling lumber. It’s simply like slicing horizontal layers along the length of the log:
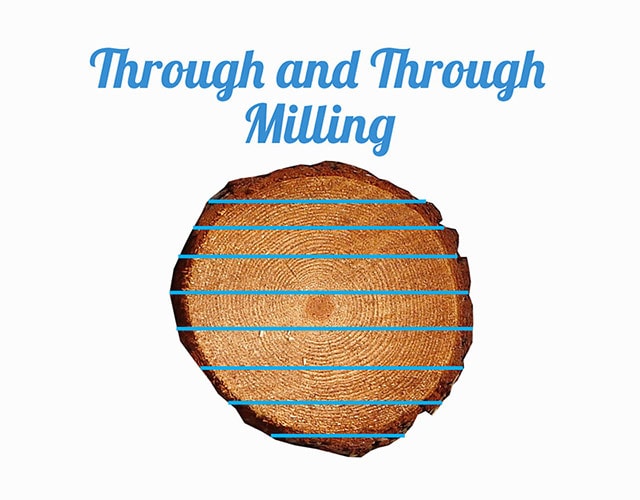
You’ve probably seen someone do the same thing with a chainsaw mill at home. Bill Anderson shared some valuable insights with me regarding lumber cut with the “through and through” method: “Depending on where in the log the boards come from, they will be either flat, rift or quartersawn, or show a transition between these cuts across the width of the board.”
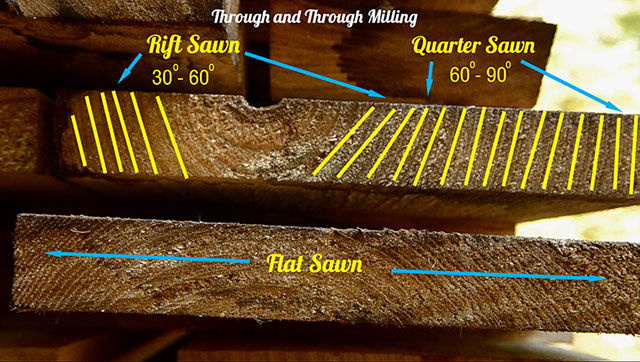
Take special notice, in the above graphic, how stable wood can be cut from a wider board. Quite often I buy 12-inch wide pine boards form a hardware store and use a band saw to cut out the quartersawn wood for times when I need stable lumber.
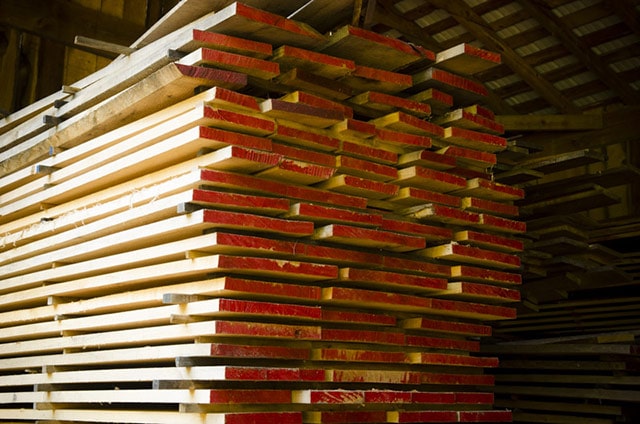
Most lumber yards separate the quartersawn lumber into a special section, because they can charge more. But some lumber sellers don’t always label the cut of their boards, so don’t hesitate to carry a sharp block plane to the lumber yard to uncover the end grain (if the ends are painted):
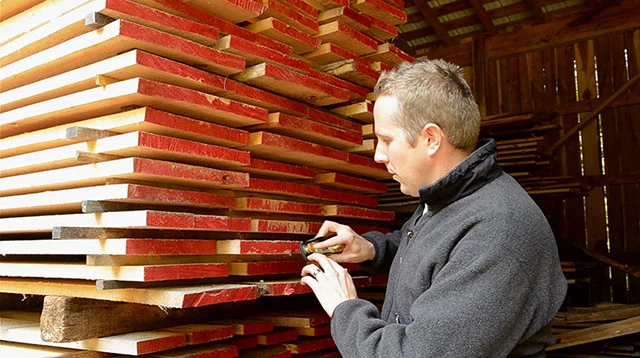
You’ll often need to remove the mill marks and the colored wood end grain sealer to see the end grain.

You should definitely dig through the boards and use your knowledge from this article to select the best wood you can find. And as mentioned above you can also find good “vertical grain” as part of a larger flat sawn board, and just cut it off both edges when you get to your workshop:

Here is what the different main lumber cut types look like after they’re cut off of a flat sawn board:

Let’s discuss each of these wood cuts in a bit more detail:
A. Flat Sawn / Plain Sawn Wood (Least Stable)
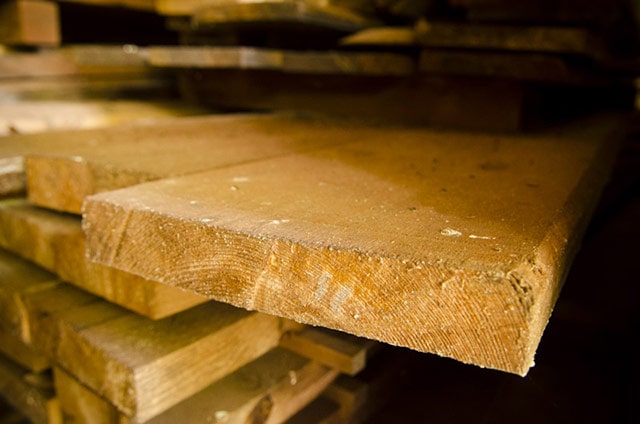
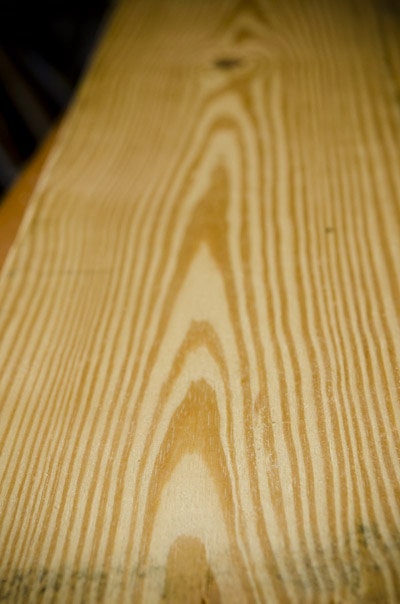
Most consumer-grade boards are flat sawn, and often display a “cathedral” pattern on the board face:
Lumber companies want to maximize their profits by getting as many boards out of a log as possible. You can definitely use flat sawn boards in your projects, but just realize that the wood will move over time, and may cup or twist and separate your wood joints. Although some joints can be arranged to better accommodate the movement (see part 1/15 of my dovetail tutorial…skip to 1:41).
But as mentioned earlier, for some furniture parts, it’s better to start out with wood that isn’t going to move as much (like rift sawn wood, quarter sawn wood, or riven wood). In section 4 below you’ll see some problems that are common to flat sawn boards (like twisting, cupping, bowing, etc.).

If the flat sawn boards have already moved out of square, then you’ll have to spend some considerable time flattening & straightening the board right before you use it. See my tutorial on flattening boards with hand tools here, or my tutorial on flattening boards with power tools here.

So if possible, it’s best to stick with a more stable cut of lumber, like quartersawn wood. Or at least keep your flat sawn boards stacked (until the last possible moment) with “stickers” between them and weights on top to prevent movement, then secure them with good joinery or fasteners (e.g. nails) when building furniture.
B. Rift Sawn Wood (More Stable)

The riftsawn section of a board is similar to quartersawn cuts, but its endgrain is between 30-60 degrees to the face. Riftsawn boards have a characteristically straight face grain pattern.
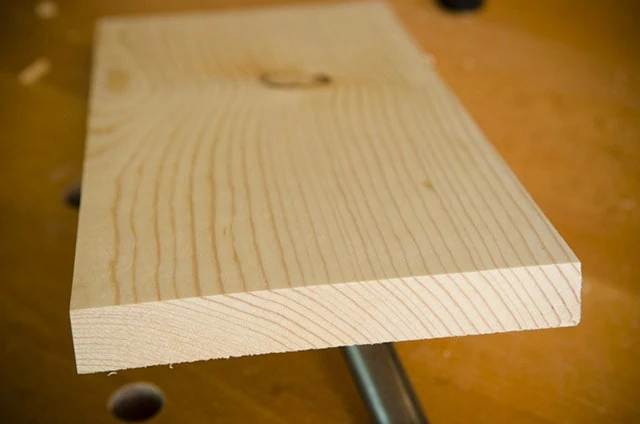
These boards are also pretty stable and can be utilized if your furniture project calls for extremely straight face grain, like modern or Japanese-style projects.
C. Quartersawn Wood (Most Stable)

Quartersawn wood is very stable, and less susceptible to movement. The 60-90 degree vertical grain qualifies a board as “quartersawn” within the lumber industry. See how the end grain is running nearly up-and-down? That is called “vertical grain”. As mentioned earlier, quarter sawn wood also shows fairly straight face grain and usually very beautiful ray flecks (like on quarter sawn white oak or on the quarter sawn beech wood pictured above).
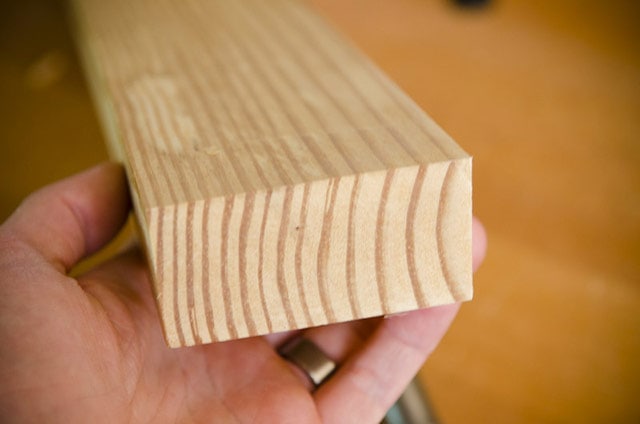
But since quartersawing requires more effort and wastes more wood, it is naturally more expensive to buy. But you don’t have to run out to your local mill and ask for the quartersawn boards. As mentioned in the last section, quartersawn wood can be cut off the edges of wide flat sawn boards. Yes, even from construction lumber.

When I built a bunch of Moravian Workbenches for my woodworking school, for much of the undercarriages and tool trays I made my own nice quartersawn wood from inexpensive construction lumber that I bought at Lowe’s or Home Depot.
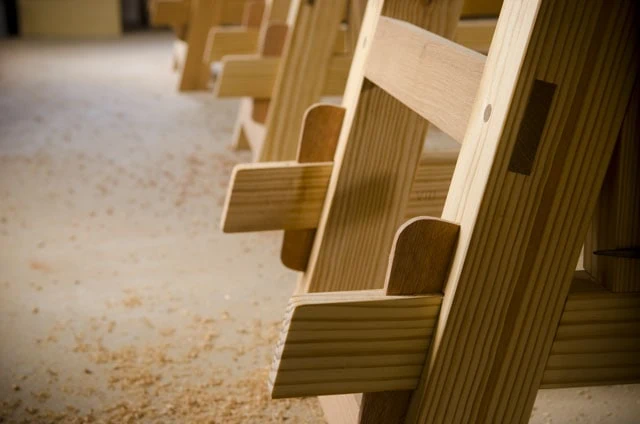
Lumber companies have to use the best pine trees to make their 2×12 construction lumber boards, and the best of the best trees to make 2×12 boards that are 16-feet long.

So I buy 2″x 12″ x 16′ boards (NOT pressure treated boards) and have them cut them in half at the store so I can transport them to my workshop. Once I get to my wood shop I rip the boards on my bandsaw, and then stack them to do the movement they’re going to do while they acclimate in my shop:

Then once the wood has done most of it’s “dancing” I can mill it up and extract the quartersawn wood from each board. You can see how nice the quartersawn wood looks on this Moravian Workbench tool tray:

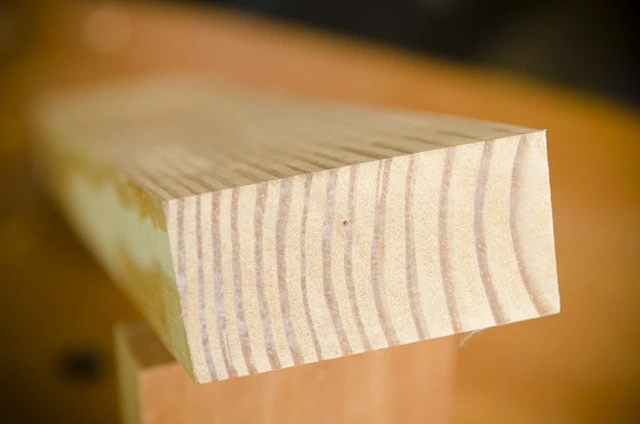
Here’s a close-up view of what the construction lumber looks like after I extract the stable quartersawn wood:
D. Riven Wood (Most Stable)

The most-most stable boards are “riven” or “rived” (or split) directly from a log using wedges or a froe, exploiting the weakness of the grain (like splitting firewood). Riven boards are almost the same thing as quartersawn wood, because it also has stable vertical grain. But rather than being sawn, the wood is split along the natural radial plane of the log, producing grain lines that are square to the board face and straight down the board. It’s my opinion that splitting along the natural radial lines removes stress from the board and makes the lumber a bit more stable than sawing the log.
These riven boards are not only the most stable, but they can also be some of the most beautiful boards, with maximum translucent ray fleck. This ray fleck is especially pronounced on white oak or red oak:

So why do you not hear about this type of lumber very often? Because wood mills and lumber yards don’t have it. Their boards are cut with large powerful saws. If they had to hand split this lumber, it would be extremely expensive. Riven boards require muscle power and hand tools.

I’ll share a riving video tutorial at a later date. But in the meantime, Peter Follansbee shows how to rive your own red oak from logs, as part of his helpful class video: “17th Century Joined Chest.”
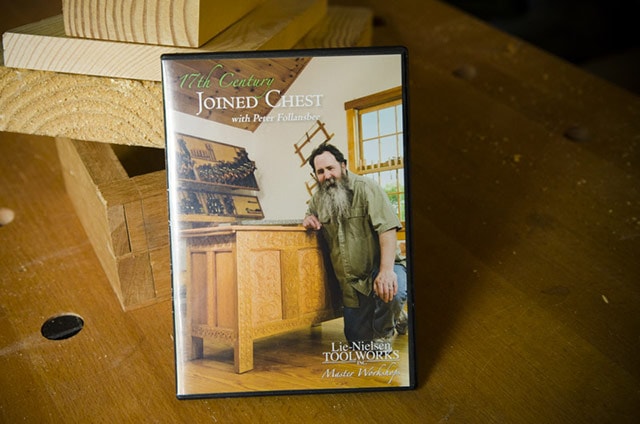
You can buy the DVD or digital streaming video here at the Lie-Nielsen website. But here’s a free YouTube video of some guys in Sweden who show how to fell and rive a large pine tree:
Step 4: Avoid Certain Lumber Defects
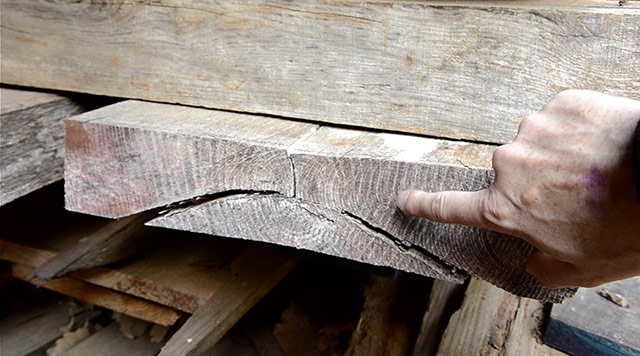
Since I do a considerable amount of my woodworking with antique woodworking hand tools, I like my boards to be as easy to work as possible. Wood defects can be particular tough to deal with in hand tool woodworking.

Some wood defects can be resolved with saws, handplanes, inlays, and even epoxy. But if I’m paying good money for wood, I like to find boards that require as little work as possible. So look out for some of these problems:
Wood Knots
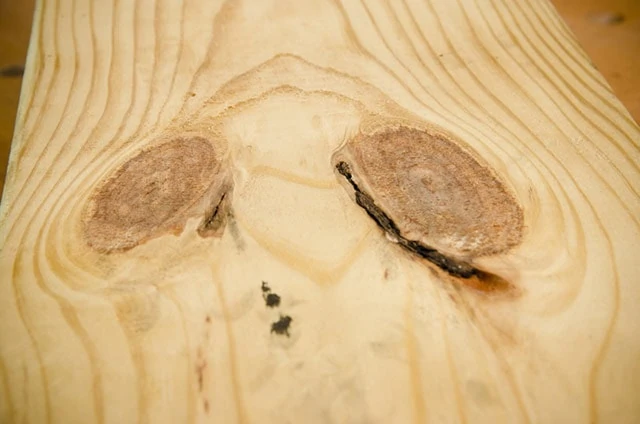
Knots can cause problems for hand tool woodworking, especially when passing your handplane over the top. And some knots like to disinigrate and fall out over time. Some minor knots I leave if they’re in inconspicuous places. And other knots you can mix epoxy and sawdust to solidify the knot. But quite often (if I have the choice) I avoid them all together. I either cut around them or don’t buy lumber with knots. But you may like the look of them in a rustic piece of furniture. Just be aware.
Sapwood & Insect Holes
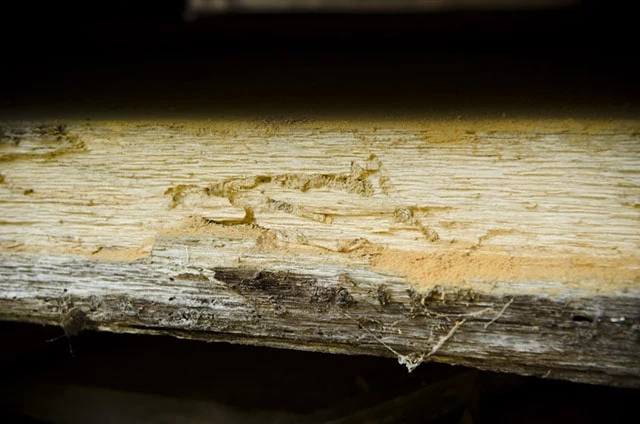
Some people like the rustic look of sapwood & insect holes. But I don’t. I avoid it, or cut around it. In the photo below you’ll see two boards glued together. The reddish wood is the heart wood. It would be on the inside of the tree. It was dead long before the tree was cut down, so the insects didn’t eat it. The sap wood is the white wood with worm insect holes, or Powderpost Beetle trails. Insects continue to eat at the sapwood long after the tree is cut down. So I prefer to avoid or remove the sapwood.

Wood Movement Defects
When lumber isn’t stacked, sealed, and dried properly it is more prone to move in all sorts of strange ways. This graphic shows some of these wood lumber movements:

Wood Checking (i.e. Splitting) on Boards

Wood checking happens when a board dries too quickly or unevenly. The cracks move along the board. So it’s best to avoid these boards. If you’re cutting your own lumber from a tree, checking can often be prevented by using a good quality wood end grain sealer.
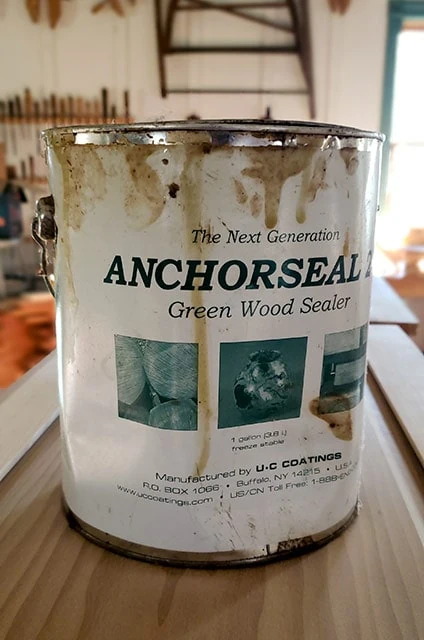
Some people like to incorporate and even feature checking into their furniture, as a way to leave some of nature in their furniture. George Nakashima’s furniture is a prime example of this (see his furniture here). I occasionally leave checking in some of my furniture, but use an inlayed bowtie to prevent the checking from spreading, as shown on this workbench that I built:

Twisting & Cupping Boards

When green (wet) boards aren’t properly stacked they will cup or twist. Cupping is when the board turns into a cup shape (see above). Twisting is when board ends twist different ways, like how you ring out a sponge. It takes a lot of work to plane out the twisting or cupping. I don’t always turn down free wood that is twisted or cupped, but I won’t buy it. Dry wood can also twist or cup if substantial cuts are made. For example, if I rip a wide board in half, it’ll twist or cup or bow if I don’t weigh it down. Freshly milled or cut lumber should be stacked with “stickers” or spacers of even thickness. This allows air to circulate so the wood can dry evenly. Uneven drying is a major cause for boards moving. Adding weight on top of the stacked lumber can further help prevent boards from moving too much.
Bowing Boards
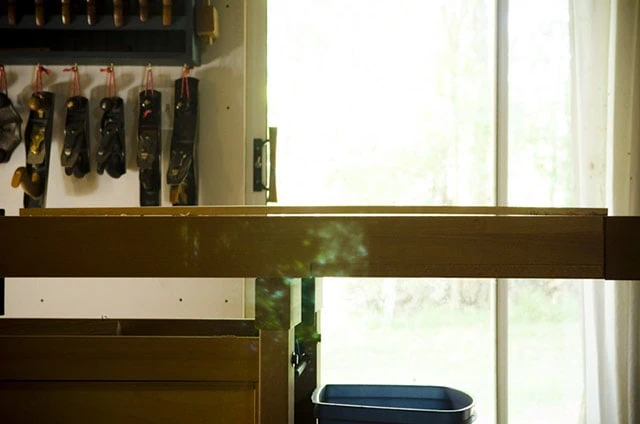
Bowed boards are like a bow that you shoot arrows with (see above). To me, this defect is a bit harder to correct for than twisting or cupping. So I avoid these boards…unless they’re free. But this is usually only a problem on short boards. Long boards have so much flex in them that most will appear to be bowing. Once these boards are assembled into furniture, or cut into shorter pieces, the bowing won’t be much of a problem at all.
Boards with Crook
Crook is similar to bow, but the wood arcs the other way; along the edge. This is an easier defect to fix because it only involves jointing the board’s edges, which I do anyway.
Step 5: Learn Where to Buy Lumber

Lumber from Local Saw Mills or Lumber Dealers
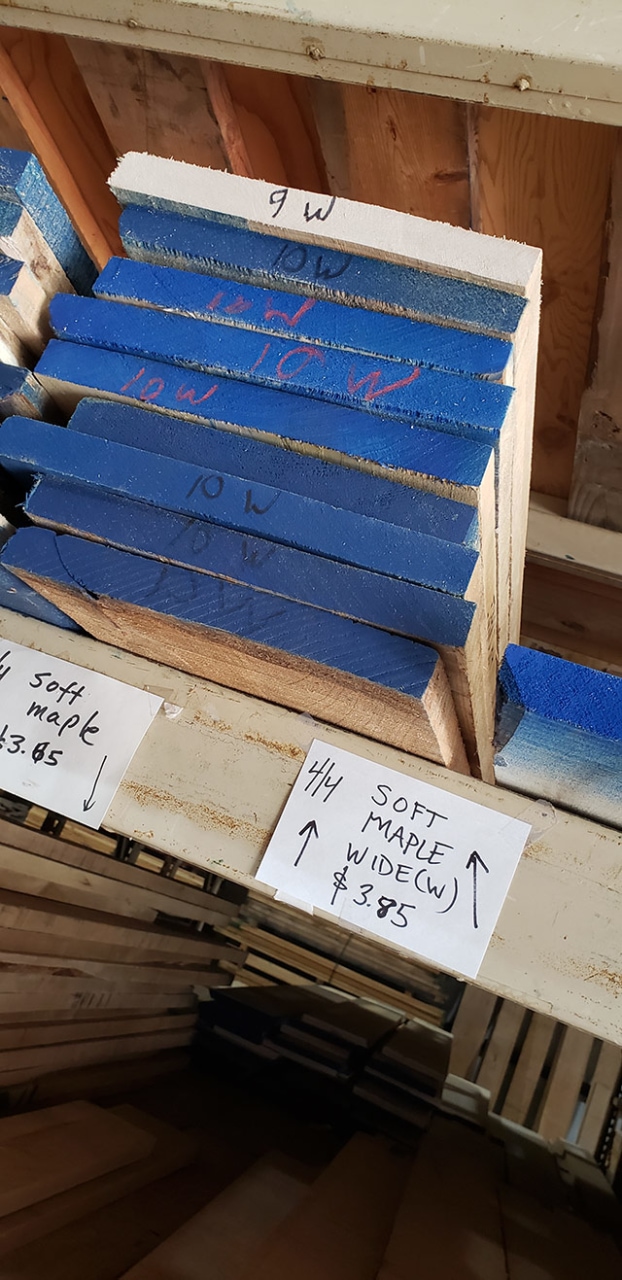
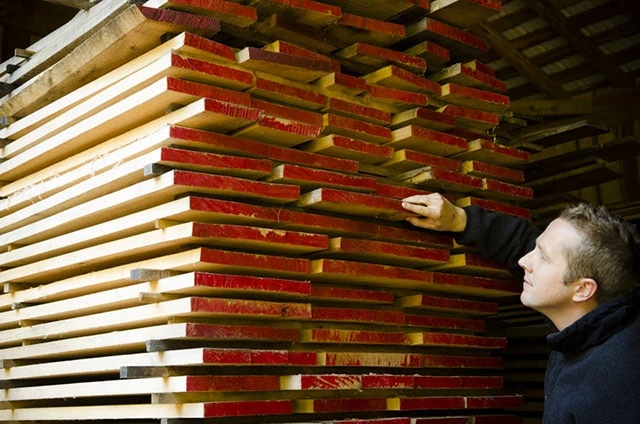
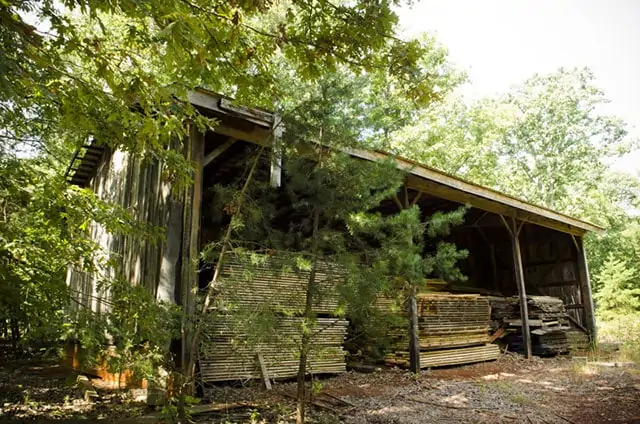
When shopping for nice hardwood lumber I like to visit small local wood mills or lumber yards. I live in Virginia, a state covered with deciduous hardwood trees, so I can always find what I’m looking for. And my kids love coming with me to buy lumber.

You can visit this Primary forest Products Network to locate sawmills near you.
You’ll save money and get better quality wood through local mills and dealers, but for those who can’t easily find lumber, you can expand your search to regional “Hardwood” dealers. Some of them even carry a few exotic hardwoods. These companies specialize in furniture grade wood, whereas woodworking supply stores & hardware stores do not.
However, even though some woodworkers warn to “stay away from the big box stores” (e.g. Lowes & Home Depot) there is a place for big box stores. While they don’t carry nice hard woods, as mentioned above, you can sift through to find nice wide yellow pine construction boards, from which you can rip out quartersawn boards (see step 3 above) . These stores also carry nice pre-dimensioned poplar. This is great for people that don’t have the skill or time to dimension all their own boards. But be aware that it’s going to be a lot more expensive to buy pre-dimensioned boards than buying rough cut lumber from a local sawmill or lumber yard.
Buy Lumber from Woodworking Hobby Stores

If you live in a larger city, then you may be close to a woodworking supply store, like Woodcraft or Rockler. Their specialty is selling retail tools & woodworking supplies, but they usually carry small quantities of hardwoods. They also carry a good selection of small blanks for wood turners and pen turners. Lumber can be expensive at these types of stores because they don’t deal with large volume. But if you live in the city, then this may be a good option to compare with a hardwood lumber yard.
Buy Lumber Online / Mail Order Lumber
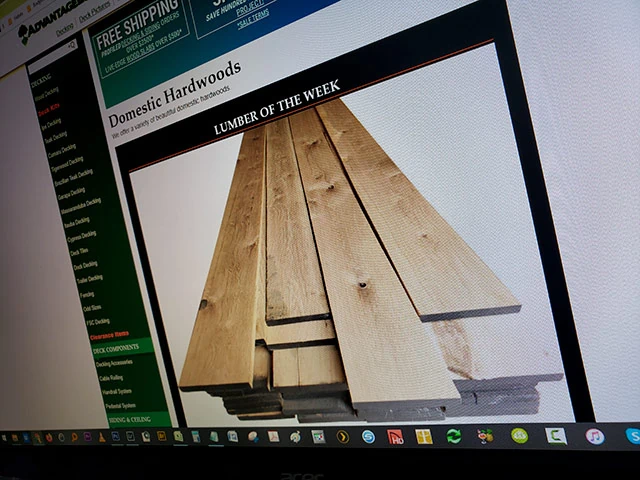
Because I have a lot of lumber near me, mail ordering (or online ordering) lumber is foreign to me. Heck, my neighbors see me dragging fallen oak, beech, and poplar logs from the woods behind my house and riving boards out of them! However, online ordering may be one of the only options for you. And it’s not a bad option if you’re building a smaller piece of furniture.
Shopping for lumber on Ebay is one option that I’ve heard positive feedback about, especially for exotic woods that may not be available near you.
But make sure the Ebay seller you intend to buy from has good customer ratings and feedback. You can search for Ebay lumber sellers here. In addition to Ebay, here are some online lumber sellers that are reported (by other woodworkers) to have a good reputation:
- Bell Forest Products
- Steve Wall Lumber, Co
- Constantine’s Wood Center
- Hardwood Board Source
- Hardwood Store
- Northwest Timber
- Hartzell Wood Stock
- West Penn Hardwoods
- Groff and Groff Lumber
- Hearne Hardwoods
- Gilmer Wood Company
- Woodworkers Source
- L.L. Johnson Lumber Mfg. Co.
- Exotic Lumber Inc.
- Downes & Reader Hardwood, Co.
- Foster Lumber Yards
- Ganahl Lumber Company
- Jones Lumber Company
- Bristol Valley Hardwoods
- Highland Hardwoods
Step 6: Learn the Language of the Lumber Yard and Saw Mill

Most beginner woodworkers don’t know what to look for when they visit a mill, a lumber yard, or an online lumber store. After reading the above advice, you should now understand how to identify great stable wood. But how do you avoid looking like a moron when you go to buy wood?
Learn about Board Thickness
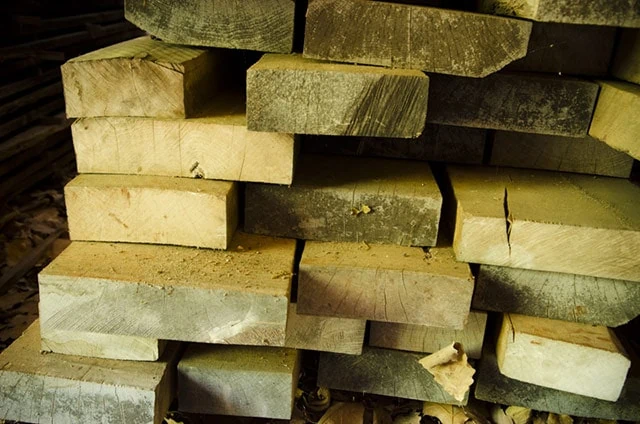
The first tidbit of knowledge that can keep you from feeling stupid at the lumberyard is to understand that lumber people speak of wood thicknesses in “quarters”. For example, in the United States we follow this system:

For example, a board that is 4/4 would be a 1-inch thick board. 4 divided by 4 = 1. That’s pretty easy.
Learn How to Calculate “Board Feet”
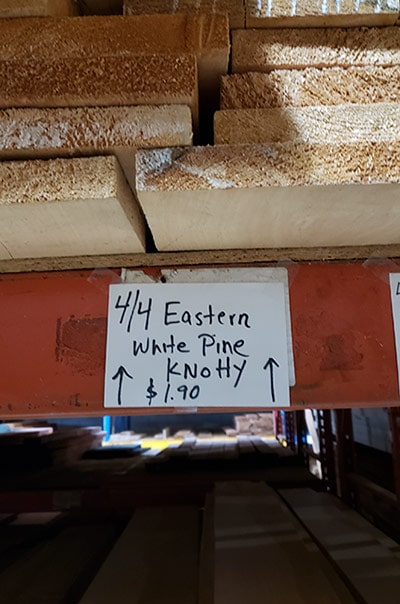
The lumber industry calculates board volume in “board feet”. How do you calculate board feet? Take your tape measure and calculator to the lumber mill, because in the United States most lumber suppliers calculate the price of their wood using a very simple “board feed” volume calculation:

When I go to the lumber yard I like to take a small tape measure, like this pocket-sized Stanley 12′ tape measure (the longest you’ll need for a board), but you can use most any tape measure. Once I calculate the number of board feet, I just multiply that number by the board foot price to get my board’s total price. But if you don’t have a tape measure and calculator handy, don’t worry. The lumber yard worker is going to measure it anyway, so you can just keep quiet and nod.
MOISTURE METERS

If you want to, you can also carry a lumber moisture meter with you when you buy rough lumber, especially from saw mills that air dry their lumber. Most lumber yards have kiln dried lumber, so moisture likely won’t be an issue. This link shows some highly rated, yet affordable moisture meters. I purchased this General Tools moisture meter and really like it. I think it was around $25-$30.

With a moisture meter you push the probes into the wood and it’ll give you a moisture level. The lower the moisture level, the less time you’ll have to wait before building your furniture project. Below I’ll discuss the debate about moister level and acclimating lumber to your workshop.
Step 7: Acclimate your Lumber to your Workshop
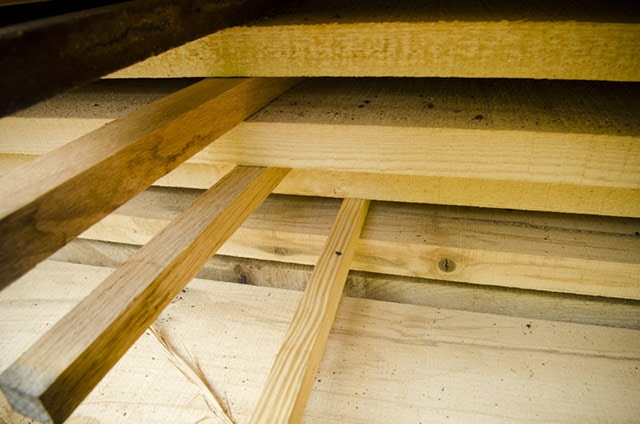
When you bring your lumber home from the lumber yard or sawmill, regardless of it’s moisture level, you need to let it acclimate to the moisture level of your workshop. So what is an acceptable moisture level? That’s a great question, and there are a lot of opinions on the subject.
The Wood Acclimation Debate: How Dry Should Your Wood Be?
Most woodworkers agree that lumber moisture needs to be under 10% for building furniture. That’s my general rule of thumb. However, in this Popular Woodworking Magazine discussion Glen Huey said that if your moisture meter registers 22% or lower, then you should buy the hardwood and there won’t be much need for acclimating the wood to your workshop’s humidity level before shaping the wood.
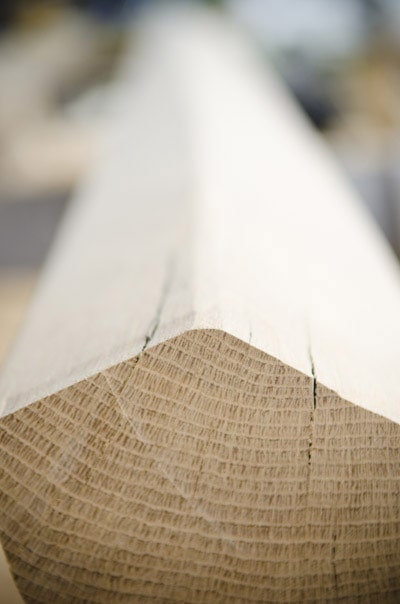
He experimented to come up with this claim. However, I think I’ll err on the side of using dryer wood, because I’ve had plenty of semi-dry wood move on me overnight.

If your lumber isn’t as dry as you would like when you purchase it (over 22% in Glen Huey’s opinion…probably over 10-15% in my opinion), then it’s a good idea to let it acclimate to your workshop for a couple weeks. It’s a good idea to use “stickers” between your lumber while it acclimates to your shop, even if it seems dry, to keep air circulating. The “stickers” (thin sticks) should have a uniform thickness. I prefer plywood because of it’s uniform thickness. I just cut a plywood sheet into a bunch of small strips.
Conclusion
I hope this guide about choosing lumber was helpful! Feel free to ask questions are leave comments below!
Want to learn more about lumber for woodworking? Here are some additional resources about wood lumber for woodworking:
- DVD: “The Woodworker’s Guide to Wood: How to Buy it, Cut it, Dry it, Grade it, Work it.” By Ron Herman
- BOOK: “Understanding Wood: A Craftsman’s Guide to Wood Technology” by R. Bruce Hoadley
- DVD: “17th Century Joined Chest with Peter Follansbee“
- WEBSITE: The Wood Database
- WEBSITE: Wood Magazine’s great “wood species guide“








Great post Joshua! Thanks for the links and and I’m looking forward to the follow ups.
You’re welcome Paul…so glad you liked it! Keep your comments coming!
The Amish here in Ohio use a nifty wooden rule for calculating bd. ft. It has a brass football shaped hook on the end and they’re about 2′ long. Three columns of numbers run down the length of stick. These columns are the length of stock say, 12,14,16 foot. Within these columns, bd. ft. has already been calculated and marked. For a 16′ bd. the hook is placed over one edge and a reading of bd. ft. is taken from… Read more »
Yes, I’ve seen these at my tool club. I think a lot of people in the lumber industry still use these. But it’s only practical to use if you deal in large quantities of lumber. Thanks for your comment Jason!
I used one of those for over 15 years and broke many too
Great job Joshua, lots of information in one place. It is startling to me how little many woodworkers understand about the materials we use so thanks for the great effort to add some clarity to a pretty cryptic industry.
You’re welcome Shannon! You’re right, there are so many people teaching different things about the same topics, which is why I’m trying to create consolidated and very simple resources. Glad to see your new shop is renovated.
Joshua,
Another good job clear and to the point. Keep up the outstanding work!
Matt Hill Cobbs Creek Va
Glad you enjoyed it Matt. I always love hearing from fellow Virginians!
Great read!
If you are ever in the market for some furniture grade Beetle Kill Pine in or near Colorado, try (website address blocked)
Garrett, thanks for your comment. That’s cool that you have a mill. I had to block the website address however. If you’d like to advertise your lumber on my website (ad and a mention in this article), please feel free to reach out to me. We have a lot of people read this article on lumber selection. Happy New Year!
Suppose you you were in possession of, as I am, four Cherry logs ranging in size from 18″ to 24″ diameter by 12′ to 16′ in length and you need to instruct the sawmill how they are to be cut. Also suppose that you are a novice woodworker who intends to use the resulting lumber in undetermined woodworking projects. How would you instruct the mill to cut up the logs?
Wow, what a great problem to have Boris! If you can send some photos I’ll look at them. But unseen, I’d ask them to try to get some quartersawn boards out, and also some full width flatsawn boards. It just depends on how much wood you’ll get if you quartersaw it. It also depends on what you think you’ll build down the road. Some furniture pieces don’t need to be quite as stable as others. Good luck!
Very helpful information. Thank you for taking the time to explain this all. I’d like to know more about how to calculate how much wood one needs for a project and how to translate the knowledge at a lumber yard.
really awesome explaination! Thanks –
I would like to enter in the clamp giveaway –
Wow, good to know :) Now I know that I made some mistakes along the way…should have read this before.
Thanks for the tips on choosing lumber! I have some projects I want to get started on at my home, and I need to choose the right wood for the job. Thanks for mentioning to choose vertical end grain. I guess that will make the wood look more uniform and be more stable!
You’re welcome Burt! Make sure you share your project on the forum at WoodAndShop.com/Forum!
Thank you for taking the time to put this out there for us newbies and forgetfulls :)
Great article and it is booked marked so I can come back to it!
You’re welcome! Yes, I did spend a lot of time on it, so it’s nice to hear from grateful people like you.
I am looking to buy some wood to build a swinging bench for our backyard. For this project, I want to make sure I find the right wood that will be durable, especially with all the different outdoor elements it will be facing. I didn’t realize that wood expands in width with humidity, but we will certainly have to look for stable lumber. Thanks for sharing!
Wait, your website is a lumber website and you didn’t realize that wood expands with humidity? Are you just trying to link build?
This is such a great article! Choosing the right hardwood or softwood can make a huge impact on your project.
I’m glad you liked it!
It’s good to know that when it comes to choosing wood to buy that there are somethings that we need to take into consideration. I like how you mentioned that one thing we need to consider is whether we need it to be hard or soft for the project we are needing it for. This is something that we will have to look at and do more research on to make sure that we make the right decision.
Thanks Joshua I really learned a lot it is not often you can get free but great information like this. Thanks.
You’re welcome! Where are you writing from?
Just outside Philadelphia, Pa.
Thank you for great content. May i translate to my native language and share in to my website with your links ?
What language and country? And what website? I may consider it as long as you are not making money off of my article.
My husband recently got into woodworking, and he has been wondering how he can choose the best lumber to work with. Thank you for all the tips on how to choose. I think that is a great idea to make sure you choose the most stable wood possible.
You’re welcome Deb!
Thanks for the video. In it you mentioned you would share more info about moisture meters and something else (I forget what it was) in the accompanying blog. I wasn’t able to find that. Would you please provide a link or tell me what I’m not doing that i should be doing to find it? Thx.
Here you go George: https://woodandshop.com/learn-traditional-woodworking-with-hand-tools/getting-started-traditional-handtool-woodworking-step-6/
Great information. Thank you for the effort.
You’re most welcome Dan! How did you find my website?
Very informative, thank you for sharing this!
Excellent helpful description. I am in UK so I do not think we talk in 4ths. ( Yes I know most of have to deal in metric now- argh!! However I think timber at a mill/merchants is sold by cubic foot – which would mean bit extra maths so take a calculator for speed. I am jst looking into making hardwood clocks – been too busy through life until now!
Really informative for this newby here! Thanks!!
Thank you for all of your extensive articles. I appreciate the time you took on putting this one together for the rest of us. Booked marked it so I can keep coming back when needed.
You’re most welcome Matt!
I grew up going to the hardware store with my father while he would dig through piles of lumber to find a few he liked. He never really articulated to me what he was looking for outside of the obvious such as straightness and knots. I really appreciate you taking the time to break this down to basics it also brings to light that some of the problems I’ve been having originated with the wood I chose to work with.
You’re most welcome Derek1
The wood you were given by a friend in the military looked like it might be Olea capensis, aka African Ironwood, East African Olive.
Thanks for the suggestion Stephen!
I realise it can become complicated to discuss but I think it’s good to consider Modulus of Rupture and Elasticity. No offence but I feel like this emphasis on Janka scale or resistance to surface deformation is often only of secondary concern(it seems the flooring industry has made this the golden standard for hardwoods which does make sense in that context but it’s not the primary consideration for most members). For a workbench top go with something quite hard, certainly,… Read more »
Thanks for your input Zac…it’s great to get some great insight like this!
great article thanks
You’re welcome!
Excellent explanation, especially on the hardwoods. Buying hardwood is a lot different than 2×4’s. There are a lot of nuances, even just calculating board footage.
That was excellent, thank you
You’re most welcome Kim!
Great video.
I can recommend Hearn Hardwods in Oxford, PA. Nice staff, excellent selection.
Cheers
Thank you for sharing Joshua. This will really help a lot especially to beginners in Woodworking.
I’m also in the Charlottesville area. Are there suppliers you’d recommend around here?
Hi Robert, I usually go to CP Johnson in Culpeper. Redbrook lumber (south of C’ville) is good. Northland Forest products in Troy is okay. Blueridge Lumber west of Crozet is okay.
Thanks so much for the tips on how to buy wood for building projects. My uncle has been working on a large project in his backyard and he needs so wood to build framing. We’ve been looking into how to asses and buy wood so we can be sure we’re getting quality materials.